Ok, time for a proper article I suppose! Bursting onto the 28mm Wargaming scene recently is the company Rubicon Models, they have an already good range of high quality injection moulded plastic kits, and today I'm looking at their Panzer IV kit.

The kit comes packaged in a nice sturdy box with a fancy picture on it, and details what your getting inside. I don't have a picture of it as I was so excited to get on with the build it went straight in the bin! Due to some clever engineering the kit gives you the option to build either a short or long barrelled Ausf F, an Ausf G or an Ausf H with Schurzen, and includes the short barreled 75mm L24 gun, and both the Long barrelled L43 and L48 75mm guns.
Design of the Schurzen in particular is worthy of not, as it simply clips onto the model. There's a slight simplification of detail, but anyone who has struggled with Schurzen in the past will really, really appreciate this engineering trick.
Construction couldn't be simpler due to the clarity of the insturctions and fit of the parts. The only tricky bits are the head lights on the front. I do feel Rubicon could have given some specifics on what parts are for which variant, but chances are if that's something that will keep you up at night you already know anyway!
The only place fit was a little off was on part of the transmission housing, but that was solved in about 2 seconds with some filler. In this area of the kit I was especially impressed with the quality of the spare track, with the retaining bar clipping into the supports. Great touch and nicely detailed.
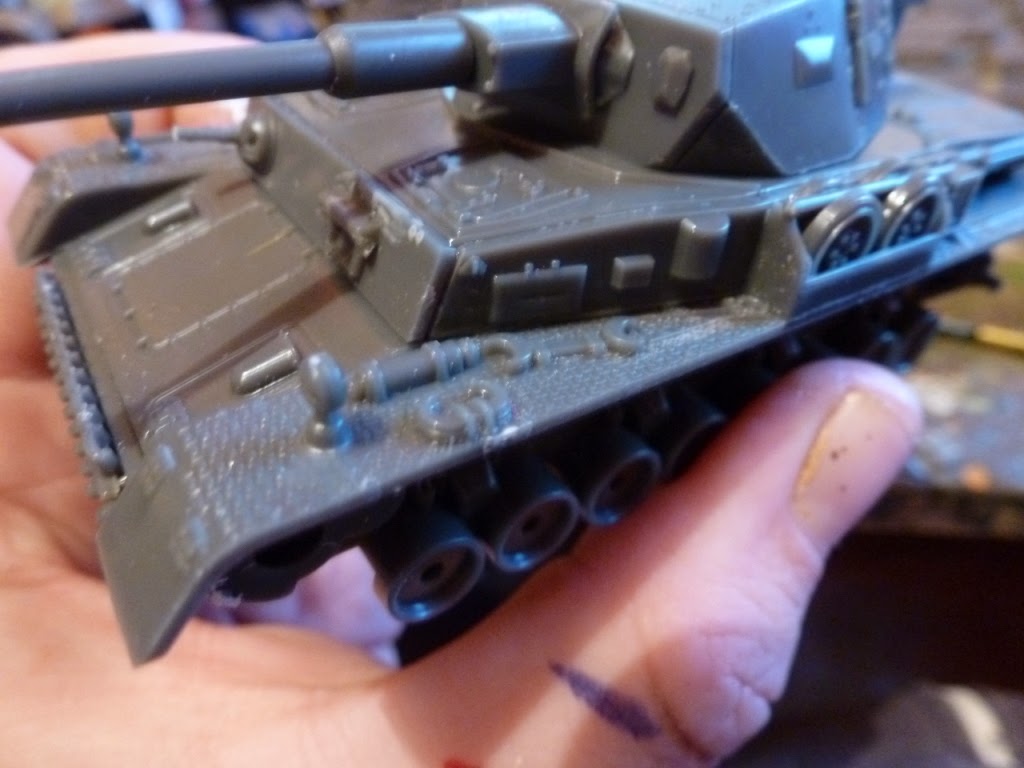
The rest of the construction was simple and didn't pose any head aches, and took around 20 minutes to complete. The tracks were simple, being molded in one piece with the front set of wheels and sprockets being separate from the parts to give really crisp and precise detail.
The tank is scaled to 1/56, and looks spot on next to some Warlord Games German infantry.
I painted the model using my Iwata Eclipse airbrush, spraying first German Panzer Grey, then Basalt Grey, then finally a 60-40 mix of Basalt Grey and White over the model to create interest. To tone the colours and contrasts down I then over sprayed with a mix of gloss varnish and panzer grey in a ratio of 80-20 in favour of gloss varnish.
Kit transfers were applied using a lot of softner. I found the transfers a little thick and they took a while to settle down, but once they did they looked good. Everything was well printed and in register as well.
After the transfers had cured over night I weathered the model using artists oils in washes to build up streaks of rust and wear to the paint, before applying Games Workshop Agrellan Earth and Typhus Corrosion special effects paints to create the mud. Once all that had dried I bursh painted some Pledge floor wax over the tank to seal it, then dulled everything down with some matt varnish. And there she was, done!


In conclusion this is a superb kit I'd recommend to anyone. One thing to bear in mind though is that if you wish to build an Ausf H with Schurzen you will need to sculpt Zimmeritt paste on if you are wanting to be totally historically accurate, and also create a round disk shaped hatch seen on later versions of the mark IV. Overall I give the kit 8 out of 10 bottles of Schnapps overall, but a huge 9.5 out of 10 if building an F or G variant!
As always, more pics of my work can be seen here
https://www.facebook.com/VolleyFirepainting?ref=hl


 To make the Zimmerit I use pretty much the same techniques as was done on the real vehicles. I apply white Miliput applied evenly approximately 1mm deep along the the entire length of the surface to textured, leave it approximately 20 minutes for the Miliput to harden, then use a razor saw to add texture, dragging the teeth of the blade along for around 2mm. I then change the position of the saw slightly to add some variety to the texture pattern. It's very tedious, however does look good. The whole model too around 2 hours to Zimmerit, but I think it was worth the effort.


